First impressions matter. 🚀
When guests land on your booking page, that moment determines whether they complete their reservation — or click away.
That’s why we’ve completely upgraded the Bonfire Online Booking Experience.
This update focuses on three major improvements:
A cleaner, more modern front page design
Smarter RV & trailer selection built into the booking flow
The ability to reserve multiple spots in one transaction
The result?
A smoother guest journey, fewer booking errors, and more completed reservations.
Let’s dive in.
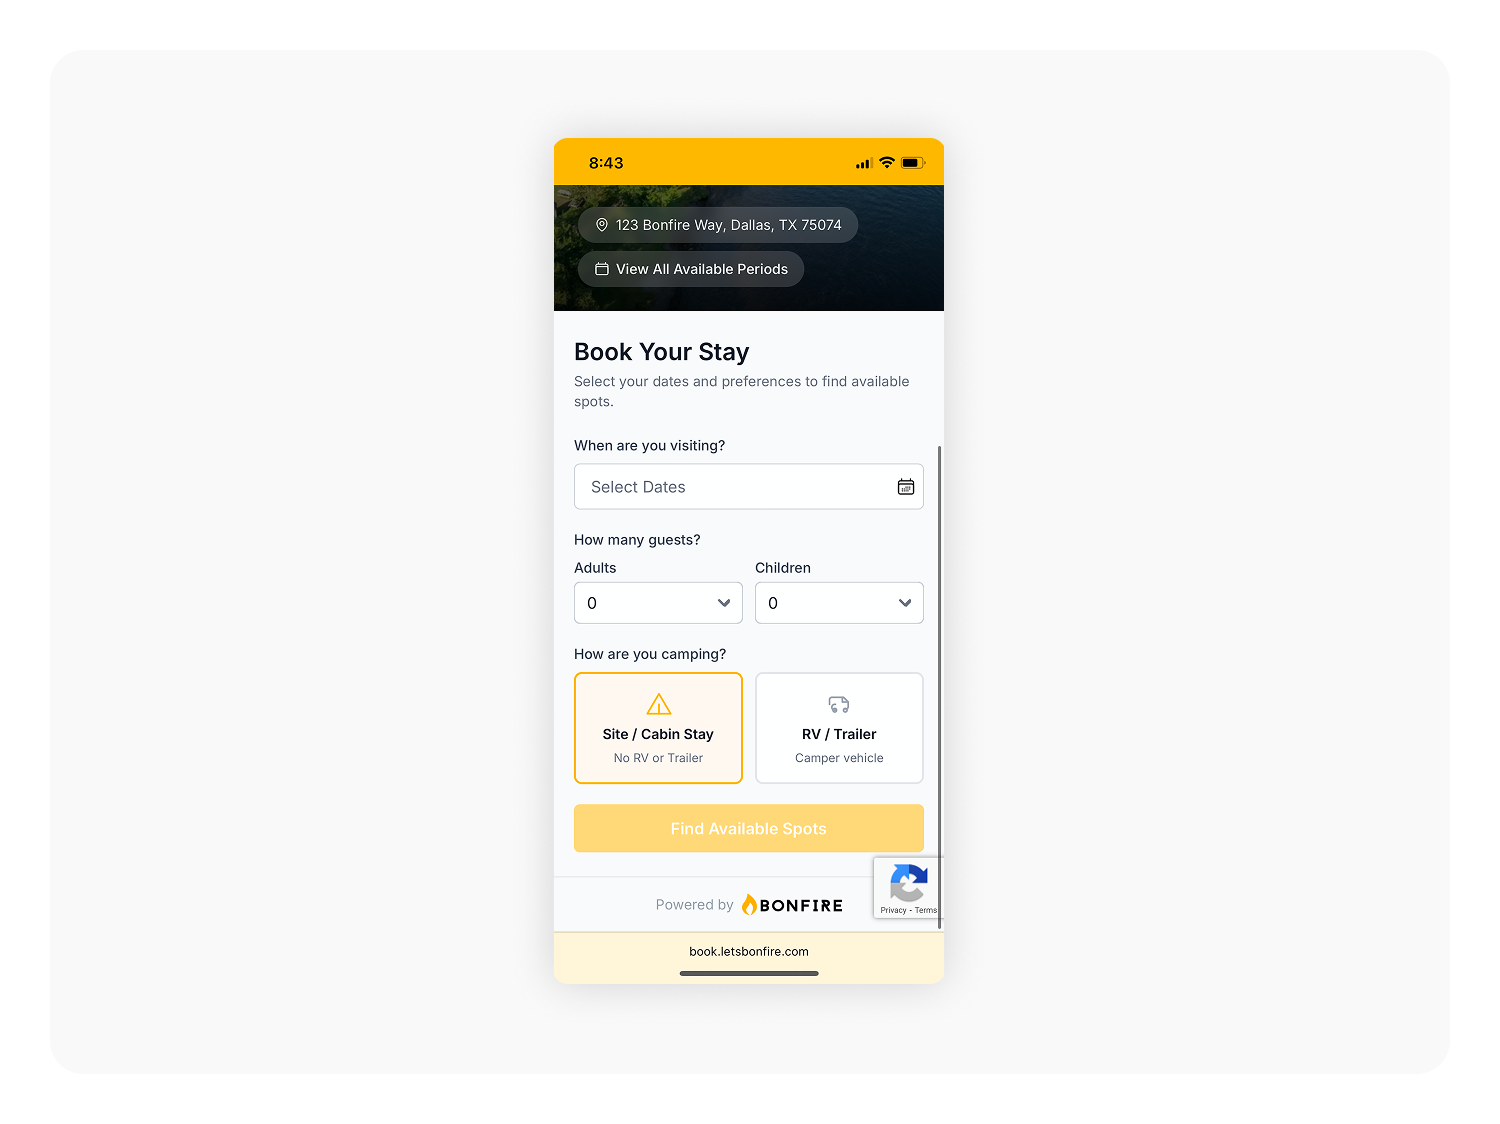
1. A Fresh, Modern Booking Front Page
We’ve redesigned the entire booking front page to be more organized, intuitive, and visually engaging.
The new layout is:
Clean and structured
Easier to navigate
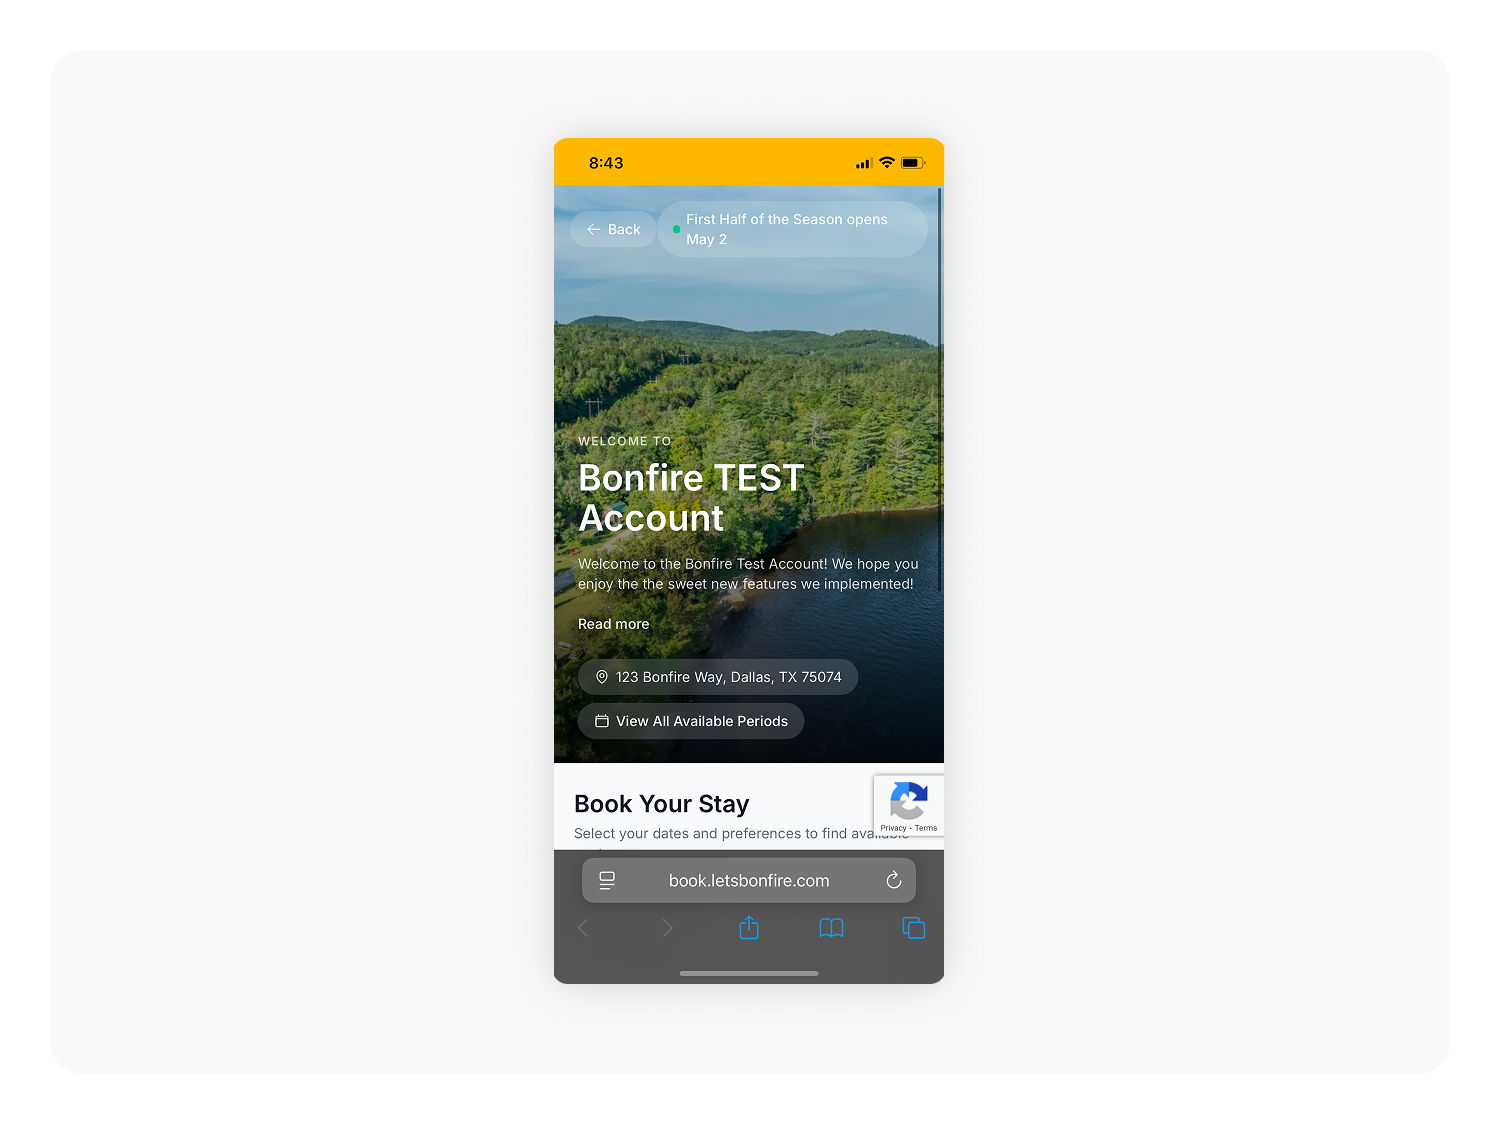
Optimized for both desktop and mobile
Designed to guide guests naturally through the booking process
Everything feels simpler — because it is.
Guests can now find availability, site options, and booking details faster without feeling overwhelmed.
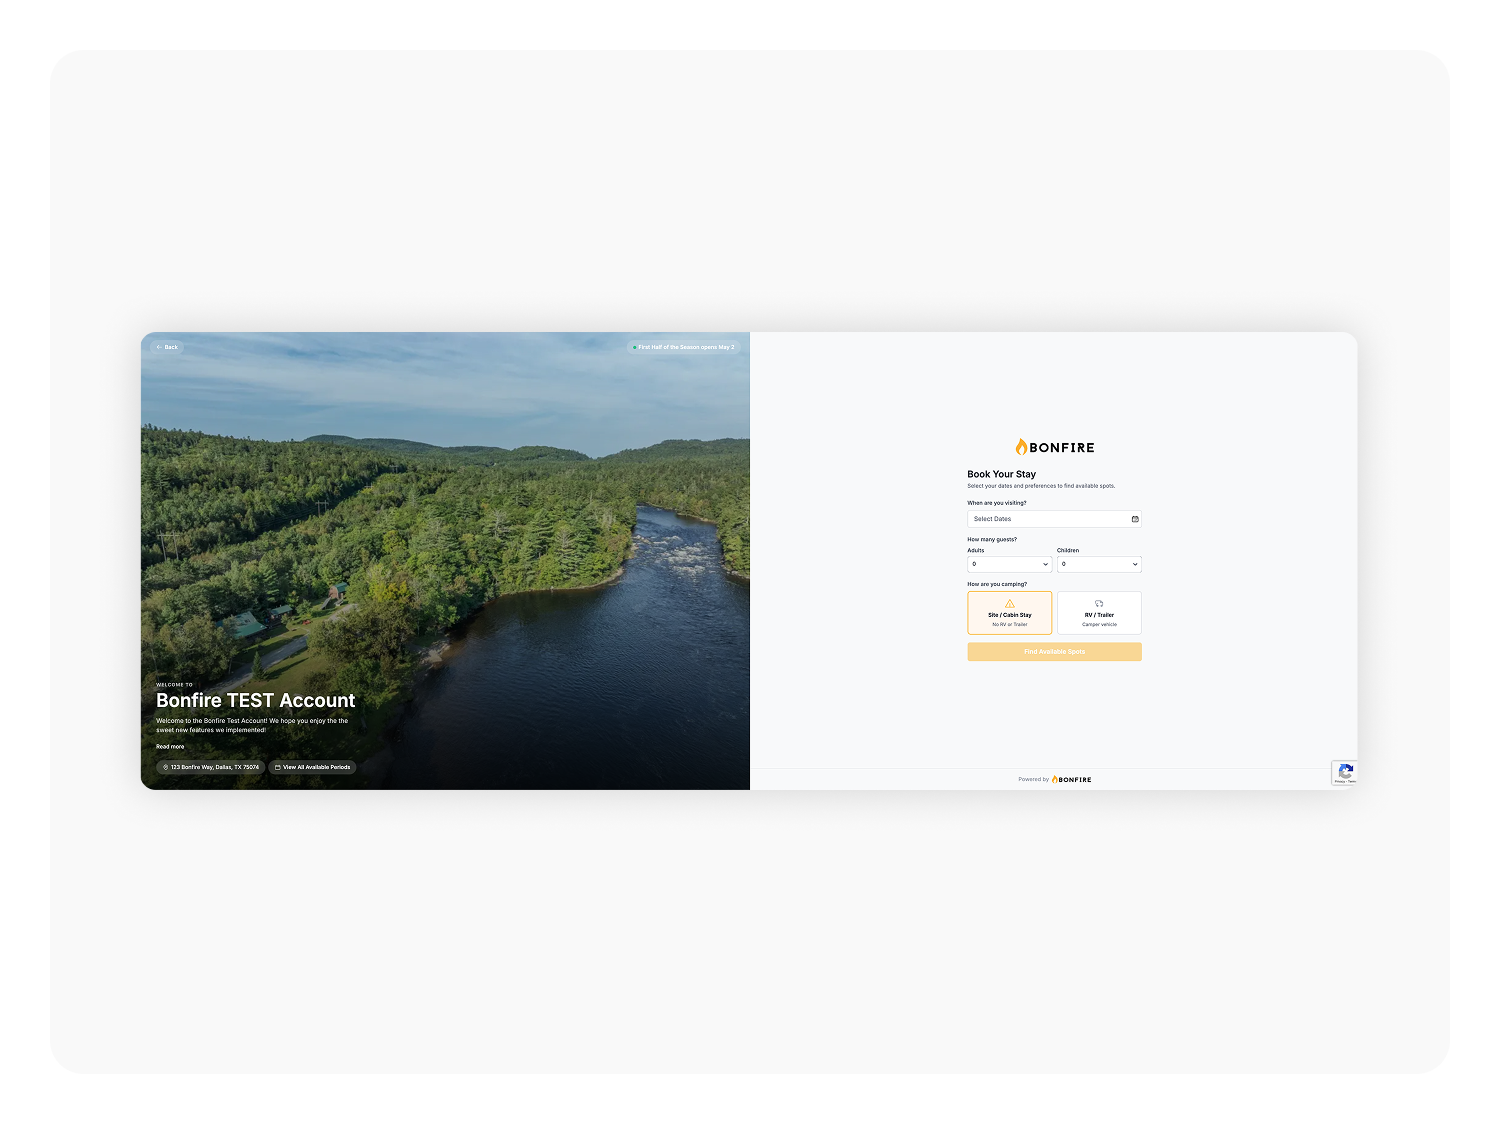
This isn’t just a cosmetic upgrade — it’s built to increase clarity and conversion.
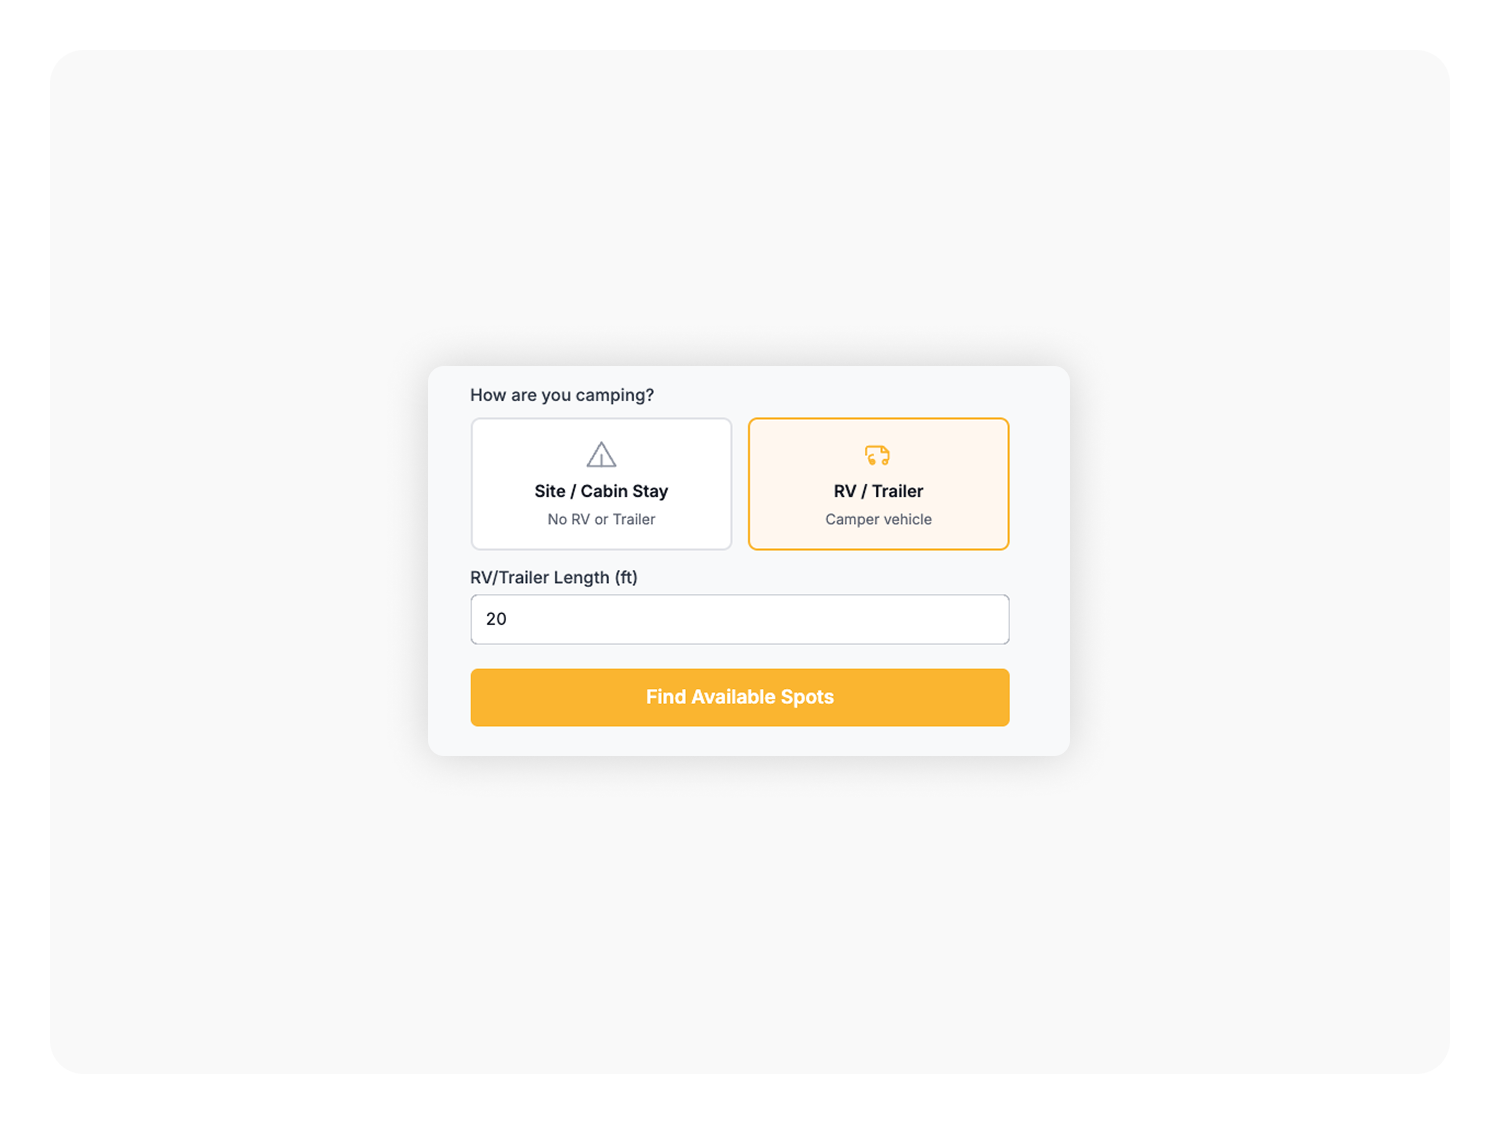
2. Smart RV & Trailer Selection (Before It’s Too Late 😉)
One of the biggest improvements in this release is moving the RV/Trailer selection to the beginning of the booking process.
Previously, trailer length restrictions were confirmed near the end of checkout — which could create frustration if a guest selected a site that didn’t fit their rig.
Now, guests can:
Indicate if they’re bringing an RV or trailer
Enter relevant size details early
Automatically see compatible sites
This prevents guests from exceeding site max trailer lengths and eliminates unnecessary booking errors.
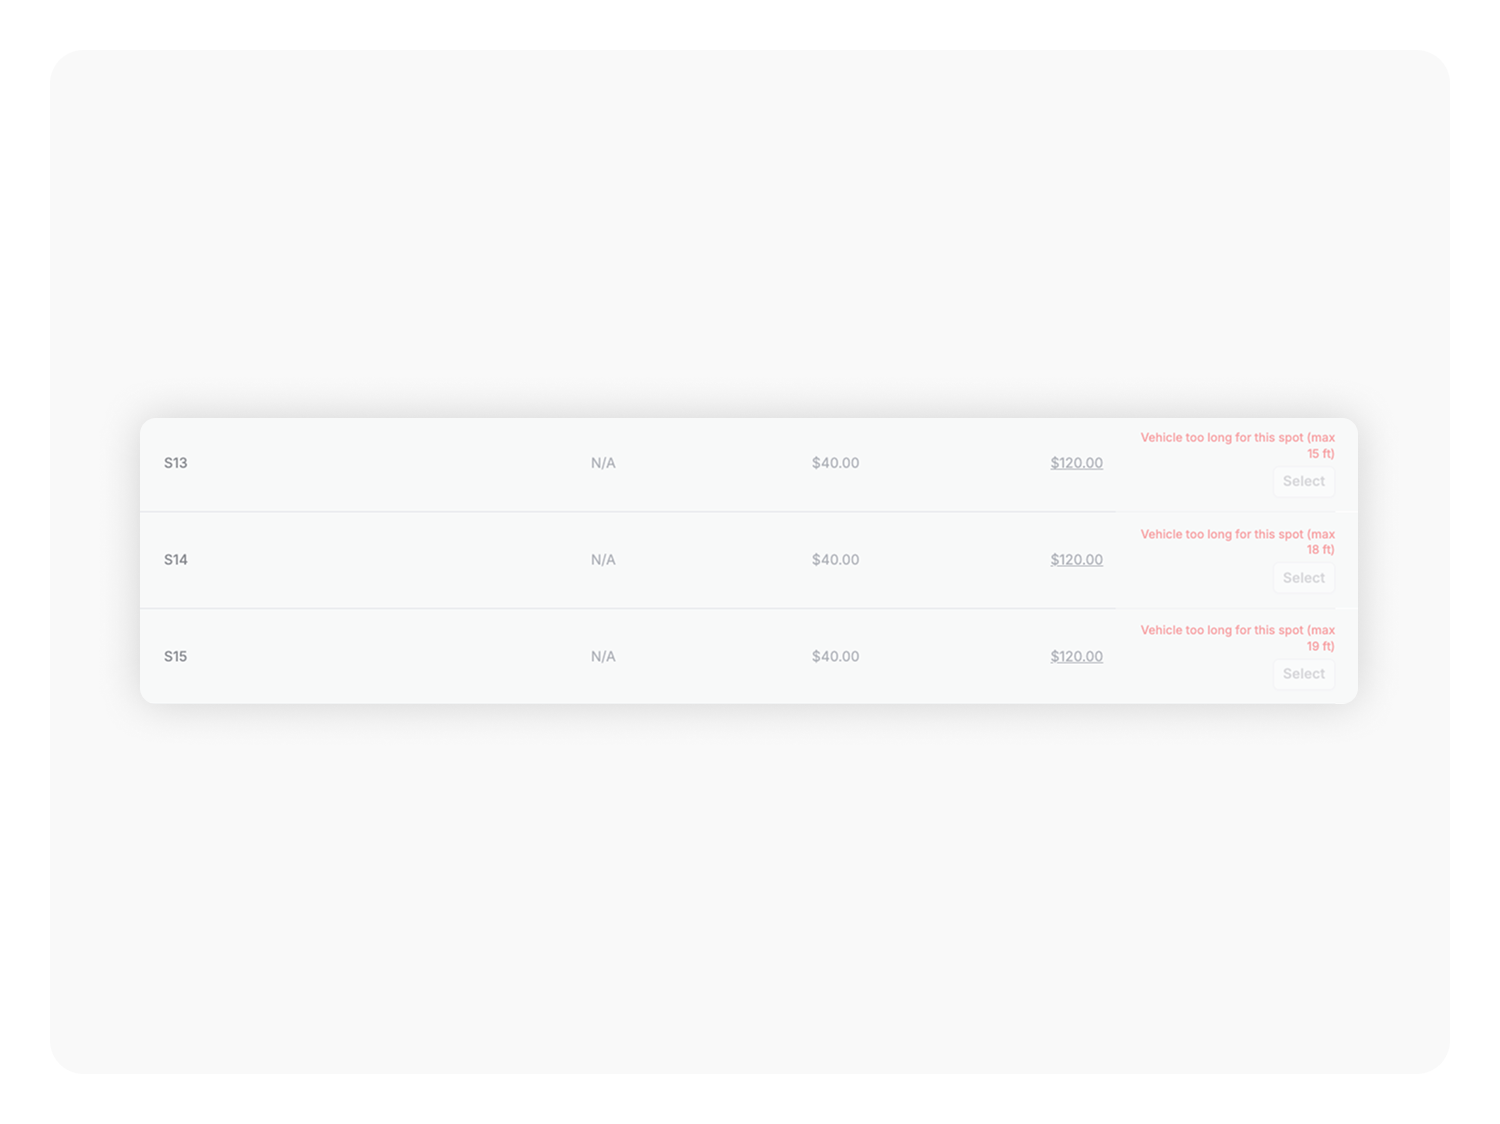
The result?
Fewer reservation adjustments
Less back-and-forth with guests
A smoother arrival experience
Happier campers pulling into the right spot the first time 🏕️
This update alone dramatically improves the guest journey.
3. Book Multiple Sites in One Reservation
Another powerful new feature:
Guests can now book multiple spots at once.
Instead of going through checkout multiple times and entering card details over and over, guests can:
Select multiple sites
Add them to one cart
Complete everything in a single transaction
This is especially valuable for:
Families traveling together
Group camping trips
Rallies and events
Long-term stays needing multiple sites
Less friction = more completed bookings.
🎯 Why This Matters for Campgrounds
These updates weren’t made just to look good — they were built to solve real operational pain points:
Reduce guest confusion
Prevent site mismatch issues
Increase booking completion rates
Create a more professional first impression
Save your team time
Your booking page is your digital front desk.
Now it works smarter than ever.
The new Online Booking Experience is faster, cleaner, and built around how guests actually book campsites today.
At Bonfire, we believe booking should feel simple — not stressful.
This update brings us one step closer to that mission.
If you’re already on Bonfire V2, these updates are live and ready to use.
If you’d like help optimizing your booking page settings, our team is happy to walk through it with you.
Here’s to smoother bookings and happier campers. 🔥🏕️